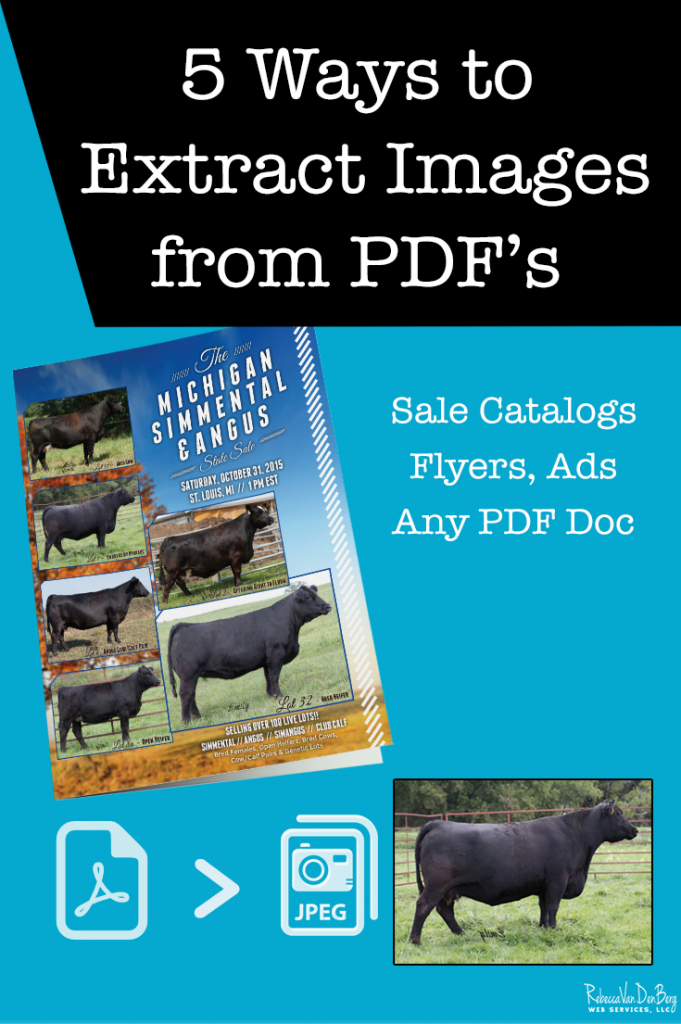
Using great images in your digital marketing strategy is a must! Finding images in the right format, size, and quality can be a challenge. Sometimes we have to get creative to get the photos we want and in the right format.
You can’t upload a PDF file to your blog or Facebook – it must be a JPEG or PNG file type. But sometimes all you have available is a PDF. Well, I am going to show you 5 ways to extract an image out of a PDF to use online and keep your digital marketing workflow moving forward!
In this step-by-step example, I will show you how to extract a photo from a fully completed sale catalog PDF (in my example I’m extracting an Angus Cow Donor Photo, but it can be a photo of a lamp, socks or any item relative to your business). I have a sale catalog from an Angus & Simmental sale from last year. I need a donor cow photo for a new project.
1. Using Adobe Acrobat Pro DC
a. Open document in Adobe Acrobat Pro (this is different than the free Acrobat Reader)

b. Choose Tools > Export PDF.
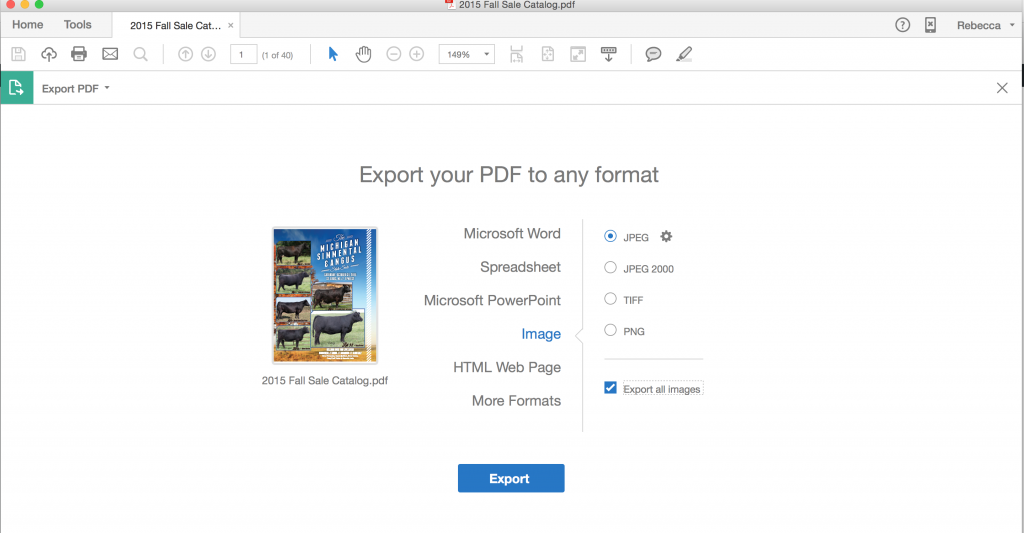
c. Click Image.
d. Click an image format, such as JPEG, PNG, TIFF.
e. Optionally, click the “gear” icon to set the image properties and options
f. Select Export All Images checkbox.
g. Click Export.
h. Select location to save images.
In less than 5 minutes I had 167 individual image files that made up the catalog. The backgrounds, individual animal photos, logos and any page content originally inserted as an image. This option is overkill for getting 1 photo, but its probably the fastest!
2. Using Adobe Photoshop – Pages
There is actually more than 1 way to extract images from a PDF with Photoshop. First I will show you how to create a JPEG image of a Sale Catalog Cover.
a. Open the PDF in Photoshop

b. On the IMPORT PDF Dialog Box you will have options for PAGES or IMAGES. For this example select PAGES. Then select the page you want to turn into an image. For this example I am using the cover.
c. Be sure to set the resolution to an appropriate value based on what you need the photo for. A good rule to follow if it’s for print, set it at least 300. If it’s for the web, set it to 72.
d. Click OK and you should have an image of the cover.
e. File > Save As and change the file type to JPEG and give it a file name you prefer.
3. Using Adobe Photoshop – Images
This happens to me by personal favorite; as many times I only need 1 photo within a document and not every image in a large PDF document, like a livestock sale catalog.
a. Open the PDF in Photoshop.
b. On the IMPORT PDF Dialog Box you will have options for PAGES or IMAGES. For this example select IMAGES. Then the IMPORT PDF tool will search your document for individual images and display them in the order they appear in the catalog. Depending on the size of your document, it may take a Photoshop a few moments to display them all.

c. Scroll down until you find the image you want.
d. Click OK.
e. File > Save As and change the file type to JPEG and give it a file name you prefer.
4. Take a Screen Shot
I use this method for more than just extracting images from PDF’s. This is a great tool for capturing images on any computer while working online or locally.
MAC Screenshots = COMMAND, SHIFT, 3 at the same time will capture the entire screen and automatically save it to your desktop. COMMAND, SHIFT, 4 at the same time will allow you to drag a box around the part of the screen you wish to capture saving you time from having to open and crop the image.
PC:
a. Print Screen or PrtScr.
b. Open Photoshop. Go to File New.
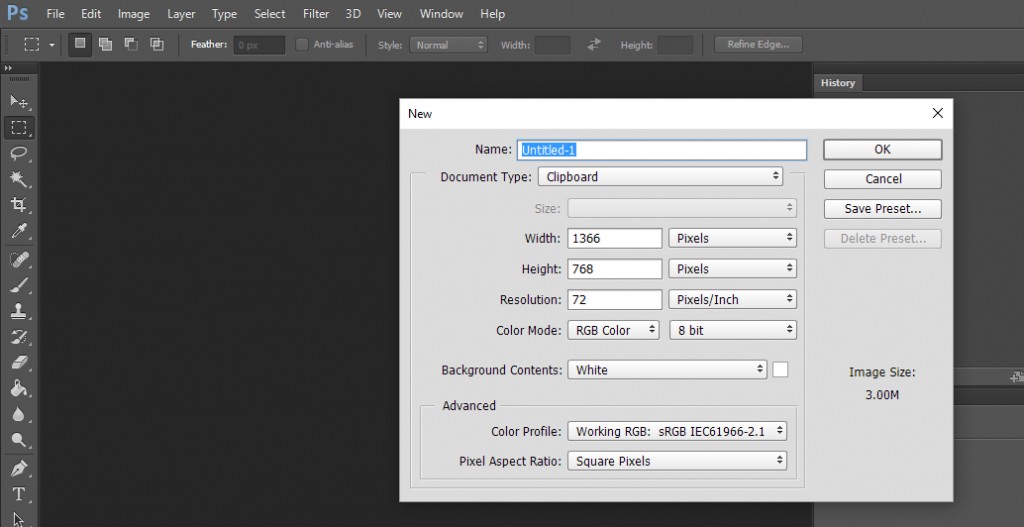
c. A name isn’t necessary, but you can give it one if you’d like. Clipboard for the Document Type is fine. Click okay.
d. You’ll see a white canvas where you can now paste your screen shot and crop your image.
e. File > Save As and change the file type to JPEG and give it a file name you prefer.
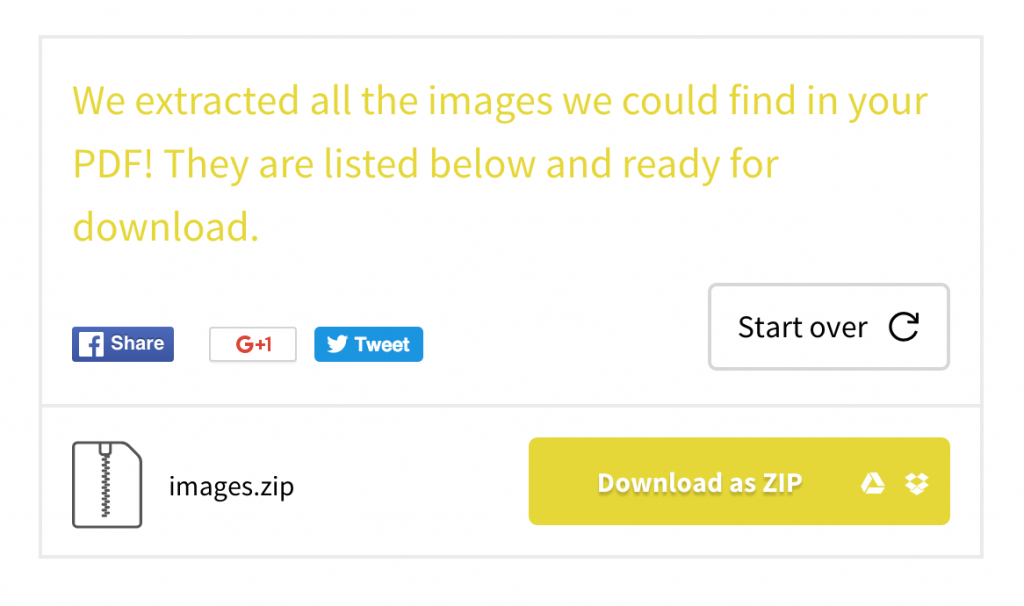
5. Use a Free Online Service
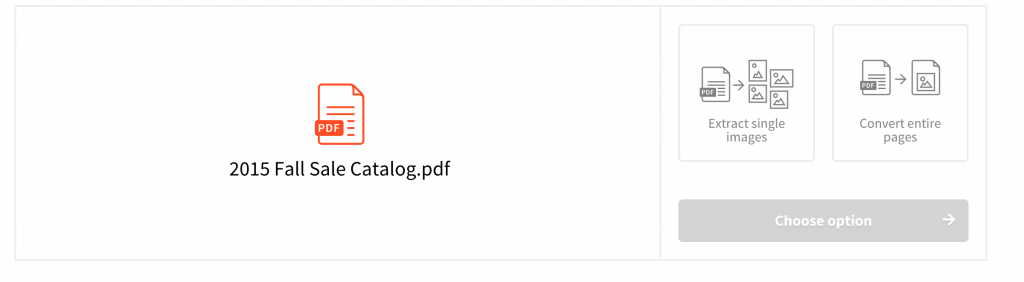
For this example I used smallpdf.com and it worked quite well. Their are several online tools available.

a. Select PDF to JPG – The Light Yellow Box
b. Choose the file you wish to work with. You must upload it to the free service.
c. Then you will get to choose between “Extract Single Images” or “Convert Entire Pages”.
d. Once they are extracted, they are packaged and compressed into a ZIPPED file for you to download. You will have to unpack the zipped package and then you will have your images.